
Follow this quick guide to safely disconnect power, remove stones and panels, document wiring, swap your Harvia KIP heating elements, and reassemble with confidence.
Key Takeaways
- Always disconnect the main power to the heater before starting; remove the grate and stones to access panels.
- Document wiring before removal—KIP dial models have two hots + ground; CX170-controlled units add A1/A2 signal lines.
- Elements may be stuck from wear; gently wiggle after removing the three terminal screws, then reinstall in reverse order.
Deep Dive
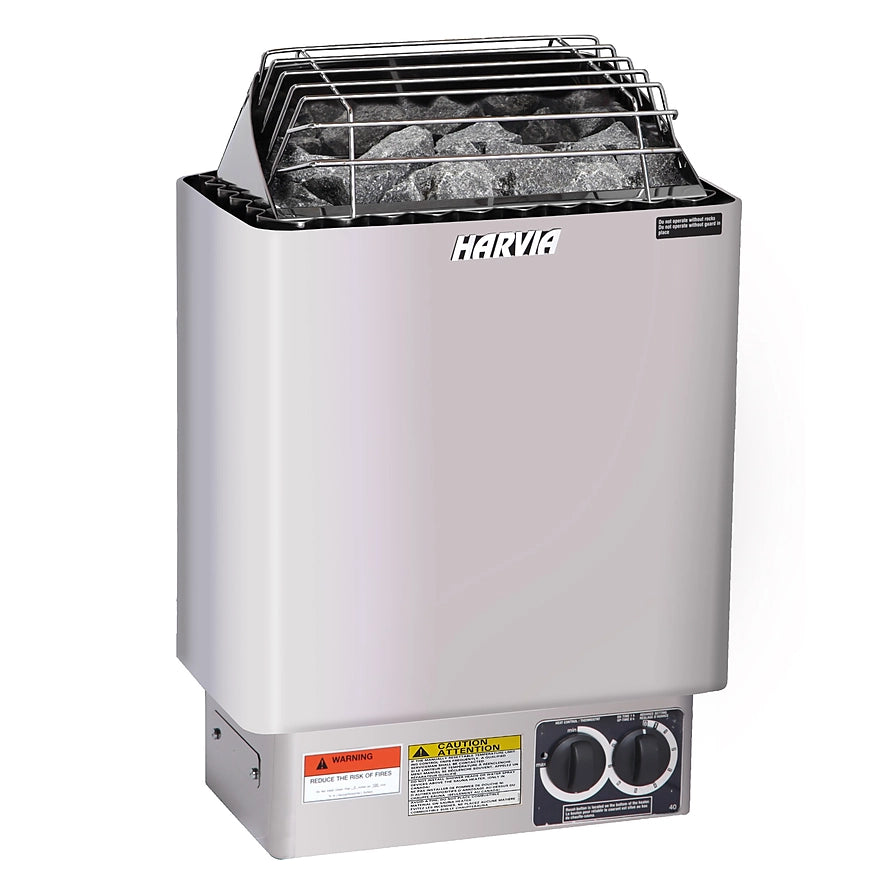
Start by switching off the breaker that feeds the heater. Remove the top grate (two rear screws) and lift out the stones for full access. With the unit wall-mounted, back out the lower mounting screws so the heater can lift off the upper keyhole screws. Set the heater on a safe surface and take off the bottom plate (two screws).
If cable slack is tight, disconnect power at the heater: on KIP units with built-in dials you’ll typically see two hot conductors plus a ground; CX170 digital/Wi-Fi setups add A1 and A2 control lines. Photograph the layout and label conductors. At the element terminals, remove the three screws, ease the element free (a light wiggle helps if it’s seized), transfer the conductors to the new element, tighten, and reassemble in reverse.
Tips & Practical Advice
- Use a Phillips screwdriver and a small nut driver; keep all hardware in a cup so nothing rolls away.
- Label each conductor with tape before removal—especially A1/A2 on CX170-controlled units.
- After reassembly, re-seat stones with gaps for airflow; don’t pack them tightly against elements.
Benefits
- Restores fast heat-up and even temperatures by replacing worn elements.
- Prevents wiring mistakes and downtime by following a clear, photo-first checklist.
- Saves on service calls—most DIYers can complete the swap with basic hand tools.
Frequently Asked Questions
How do I know an element needs replacing?
Common signs include unusually slow heat-up, uneven stone temperatures, or frequent breaker trips. Visual cues can include hot spots or deformation on an element.
What wiring should I expect on my KIP heater?
Most KIP dial models use two hot conductors plus a ground. If you have a CX170 wall control, expect additional A1/A2 low-voltage control lines—label and return them to the same terminals.
Any safety steps after reassembly?
Confirm all terminals are tight, panels secured, and stones placed with airflow gaps. Restore power at the breaker and observe the first heat-up cycle to ensure normal operation.
Need Help?
Questions about sizing, placement, or maintenance? Our team will help you choose and set up the right solution for your space—talk to a specialist in minutes.
Prefer to talk? (931) 516-6577 • Or use our contact page.