
Image © Getty Images, Unsplash+
The dream of an indoor sauna is a powerful one. No mad dash through the snow; just a few steps from your living space to a private, cedar-scented sanctuary. It's the ultimate daily escape. But I'm the one who gets the call when that dream runs into the reality of a moldy floor, a musty smell, or a constantly tripping breaker. And the problem almost always comes down to one thing: choosing the wrong location.
I've been putting saunas inside beautiful homes for years, and I've seen the common traps that lead to expensive headaches. My goal here is to give you a practical, technical look at what you *actually* need to know before you bring the heat inside. This isn't about the sauna model as much as it is about the room that will become its home.
Why Does the Room You Choose Matter So Much?
Before we get into the details, let's frame the stakes. Your entire experience—and the long-term health of your home—will be defined by the room you choose. Here's how it usually plays out.
| The Factor | The Ideal Site | The Problem Site |
|---|---|---|
| The Foundation | A solid, waterproof floor like concrete, tile, or Luxury Vinyl Tile (LVT). It's clean, durable, and worry-free. | Carpet. Or unsealed hardwood. Or any material that can trap moisture and lead to odors and structural damage over time. |
| The Air | Properly ventilated. Fresh air comes in, humid air goes out. The room stays fresh and the wood dries perfectly between uses. | A stuffy, unventilated closet. The air gets stale and oxygen-depleted, the door swells and sticks, and the room never truly dries out. |
| The Power | A dedicated 240V circuit (for traditional) or a dedicated 120V circuit (for infrared), installed by a pro. The heater has all the clean power it needs. | An overloaded circuit shared with other appliances. The breaker trips constantly, and the experience is a source of endless frustration. |
| The Result | A reliable, invigorating home sanctuary that adds value to your life and your home. | A constant source of problems, bad smells, and potential damage to your house. |

Dundalk Canadian Timber Luna Sauna
A beautiful and robust 2-person indoor sauna, crafted from durable white cedar. Perfect for a basement or large bathroom with the right foundation.
What Is the Best Floor for an Indoor Sauna?
This is the first and most important consideration. You might see people on forums asking, "Can I just put a sauna in a spare closet?" or "Can I put it on my nice hardwood floor?" I know what happens when they do, because I'm the one they call six months later to inspect the damage.
A traditional sauna uses water. Not a lot, but some will inevitably splash onto the floor. More importantly, the room needs to be cleaned. An infrared sauna doesn't use water, but you will be sweating, and some of that sweat will end up on the floor. For these reasons, the flooring material is critical.
- Excellent Choices: Concrete (sealed or polished), ceramic tile, porcelain tile, or high-quality Luxury Vinyl Tile (LVT). These surfaces are 100% waterproof, durable, and easy to clean. A basement with a concrete floor is the ideal starting point.
- Unacceptable Choices: Carpet is the absolute worst. It will trap moisture, sweat, and bacteria, leading to a permanent musty odor and a serious mold problem. Unsealed hardwood or laminate flooring is also a bad idea, as moisture will seep into the seams and cause the boards to warp and buckle over time.
Over the years, I've noticed a clear pattern with flooring issues. A client will install a beautiful little sauna in a carpeted spare bedroom, often putting a plastic mat or a piece of plywood down, thinking that's enough. A few months later, I'll get the call. The complaint is always the same: a persistent musty smell they can't get rid of. When we lift up the sauna, the carpet and padding underneath are invariably damp, discolored, and starting to grow mildew. It's a costly mistake you only make once. A sauna needs a solid, non-porous, waterproof surface beneath it. Period.
Does an Indoor Sauna Need Ventilation to Be Safe?
If you ignore everything else I say, please listen to this: **Your sauna must breathe.** I cannot overstate this. Ventilation is not a suggestion; it's the lungs of your sauna. It is a non-negotiable part of a safe, comfortable, and long-lasting design.
A proper setup is simple but critical. You need a low intake vent, ideally placed on the wall directly under the heater, to bring in fresh, oxygen-rich air from the surrounding room. Then, you need a high exhaust vent, usually on the opposite wall, to let the hot, humid, CO2-heavy air escape. This creates a gentle, constant convective loop of air that is essential for three reasons:
- Comfort and Safety: It prevents the air from becoming stale, stuffy, and oxygen-depleted, making your session far more comfortable and safe.
- Heater Performance: The constant airflow helps the heater distribute heat more evenly throughout the room, preventing a situation where it's 200°F at the ceiling and 100°F at your feet.
- Sauna Longevity (The Drying Ritual): After your session, you *must* leave the exhaust vent open and prop the door ajar for at least an hour. This is how you thoroughly dry out the wood. It's the only way to prevent that musty "locker room" smell, stop the door from swelling and sticking, and keep mold from ever getting a foothold.
A sauna built in a tight, unventilated closet is a recipe for a bad experience and a moldy room.

What Are the Real Electrical Costs and Requirements?
The price tag on the sauna kit is not the final price. The biggest "unseen" cost is almost always the electrical work. You can't just plug a real traditional sauna into a normal wall outlet. It needs its own dedicated 240-volt circuit, just like an electric stove or a clothes dryer. Smaller infrared saunas can often run on a dedicated 120-volt circuit, but a traditional sauna needs more muscle.
This requires a licensed electrician to run a new, heavy-gauge wire from your main breaker panel to the sauna's location. Depending on how far that run is and how complex the path is through your walls and ceilings, this can cost anywhere from **$800 to over $2,500**. Don't let this be a surprise. Get a quote from an electrician early in your planning process and include it in your total project budget.
My Pro Tip: Let's clarify a huge myth that stops people from considering an indoor sauna. You do not need a floor drain for a typical home sauna. Is a drain a nice luxury for easy cleaning? Sure. Is it a requirement? For 99% of home saunas, absolutely not. The steam is made by ladling a small amount of water on the rocks. We're talking a few cups of water over a whole session, not gallons. Any small splashes on a proper tile or concrete floor will evaporate quickly when the room is drying. Don't let the fear of a massive plumbing project stop you.
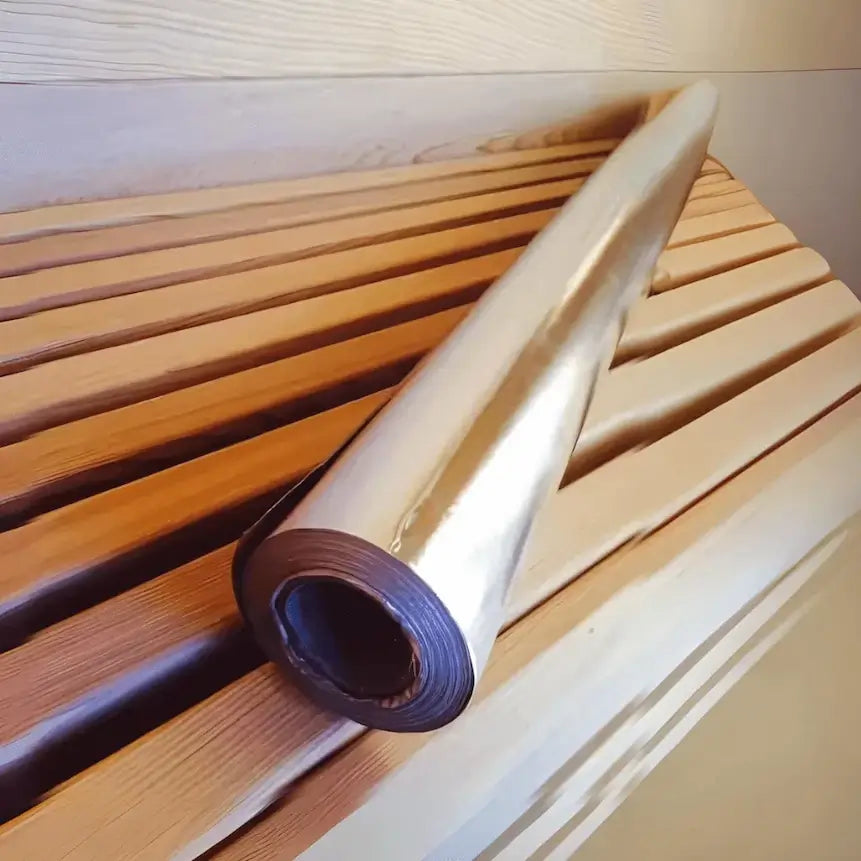
Sauna Foil Vapor Barrier
This is not optional. A high-heat foil vapor barrier is the only way to protect your home's structure from moisture damage.
The Final Verdict: Plan the Space Before You Buy the Sauna
An indoor sauna can be one of the best investments you ever make in your health and your home. But it's a construction project that becomes part of the fabric of your house, not just a piece of furniture. You must choose your location wisely. Respect the need for a proper floor, dedicated power, and good ventilation.
I worked with a wonderful older gentleman, a retired carpenter, who was finishing his basement. Before he started, it was just a cold, empty concrete corner. He framed out a perfect little spot for a two-person sauna. He poured a slightly sloped concrete pad for the base and tiled it himself. He ran the electrical before the drywall went up, so the installation was clean and easy. He did everything by the book. He calls me every year or so just to tell me it's the best thing he's ever built for himself. He gets up every morning, has his coffee, and then sits in his sauna for 20 minutes to loosen up his stiff joints. He told me, "John, it's better than any pill a doctor could give me." He transformed an unused space into the most valuable room in his house because he started with the right location.
If you plan for these realities from the start, you'll be rewarded with a sanctuary that serves you well for decades. If you cut corners, you'll just end up with a project that needs to be fixed.
Ready to Do This Right?
I hope this guide helped clarify your options. If you want hands-on technical advice from our team, or product recommendations you can trust, just reach out.
Contact Our Team Explore Our Indoor Saunas